Scout & Guide Leaders: printable card set
A sample of 4 cards. The full set of 118 comes with the collection. Back
Live wilderPreparing an emergency action plan

Step by step

  1. An emergency action plan sets out what you will do if something goes wrong, so you do not have to work it out under pressure.
  2. Before you head out, write down the name of the place, its nearest postcode, a grid reference and a what3words address for where you will be.
  3. Note the best access point for an ambulance and the route from there to your site.
  4. Check whether you have a phone signal, and if not, where the nearest signal is.
  5. Write down who to call, including the emergency services on 999 or 112, your emergency contact and, if you are with a group, your organisation.
  6. Note the location of the nearest accident and emergency department.
  7. List who is with you and any medical needs.
  8. Keep a copy with your first aid kit and leave another with someone at home, along with the time you expect to be back.
The full Wilding activity guide (what you need, safety, variations and questions to wonder about): re-wild.co.uk/g/preparing-an-emergency-action-plan/
Scout & Guide Leaders · re-wild.co.uk
Before you beginPreparing a risk assessment

Step by step

  1. Before heading out, think through the whole activity from start to finish.
  2. Write down each hazard you can think of, such as steep ground, water, traffic, weather, or specific plants and animals in the area.
  3. Next to each hazard, note how likely it is to cause harm and how serious that harm could be.
  4. For each hazard, write down what you will do to reduce the risk, such as briefing the group, choosing a safer route, or carrying specific equipment.
  5. Share the finished risk assessment with anyone helping you run the activity, and keep a copy with you in case anything needs reviewing on the day.
The full Wilding activity guide (what you need, safety, variations and questions to wonder about): re-wild.co.uk/g/preparing-a-risk-assessment/
Scout & Guide Leaders · re-wild.co.uk
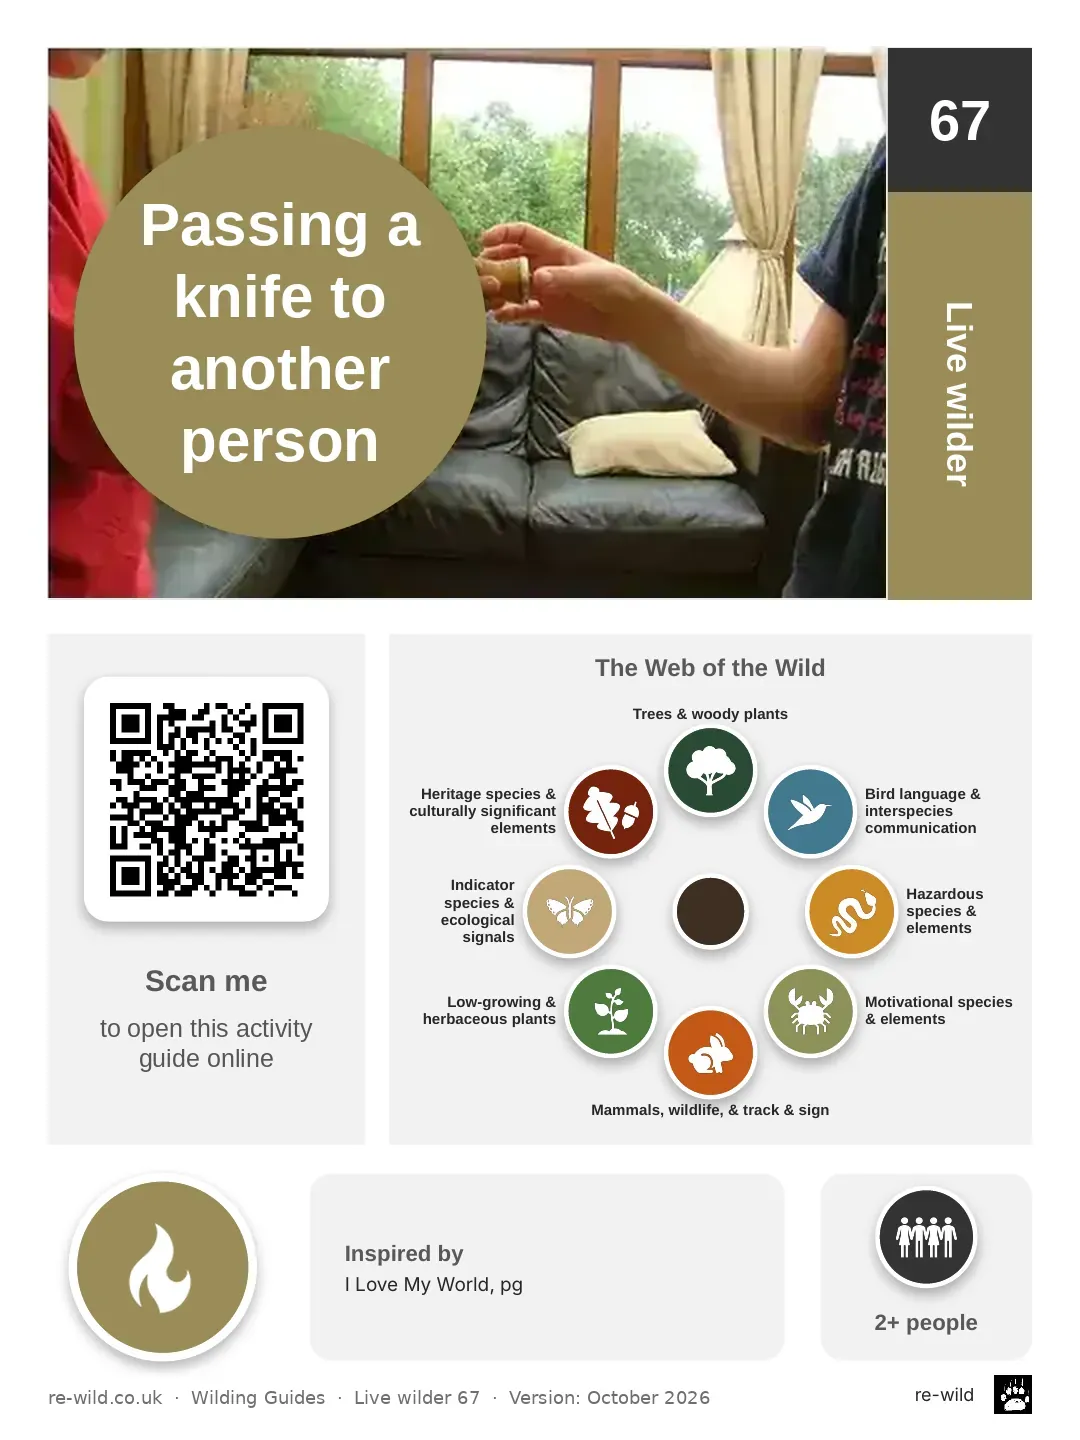
Live wilderPassing a knife to another person

Step by step

  1. Gather in a circle and talk through why passing a knife safely matters.
  2. Explain that, wherever practical, a knife should be passed still in its sheath. If that is not possible, place the unsheathed knife on a surface for the other person to pick up by its handle.
  3. Talk through, and demonstrate, how you would pass an unsheathed knife directly between two people if this is genuinely necessary.
  4. Remove the knife from its sheath and hold it in a fist grip in your dominant hand.
  5. Clearly tell the other person you are about to pass the knife to them.
  6. Extend your arm and offer the handle to them, rotating your fist grip so the knife's spine turns backwards, anticlockwise, until it rests in the web of tissue between your thumb and index finger.
  7. Keep hold of the knife until you can see and feel that the other person has a secure grip on the handle before you let go.
The full Wilding activity guide (what you need, safety, variations and questions to wonder about): re-wild.co.uk/g/passing-a-knife-to-another-person/
Scout & Guide Leaders · re-wild.co.uk
Create cultureCreating a tool culture

Step by step

  1. Gather your group and ask them to think about the potential risks associated with using tools, both individually and as part of a group.
  2. Invite them to suggest ways to reduce the risks they have spotted. Prompt with questions such as: what personal or outside factors might make an accident more likely? Why does it matter to keep at least an arm's length between people when working with tools in a group?
The full Wilding activity guide (what you need, safety, variations and questions to wonder about): re-wild.co.uk/g/creating-a-tool-culture/
Scout & Guide Leaders · re-wild.co.uk