Wild Crafts: printable card set
A sample of 4 cards. The full set of 52 comes with the collection. Back
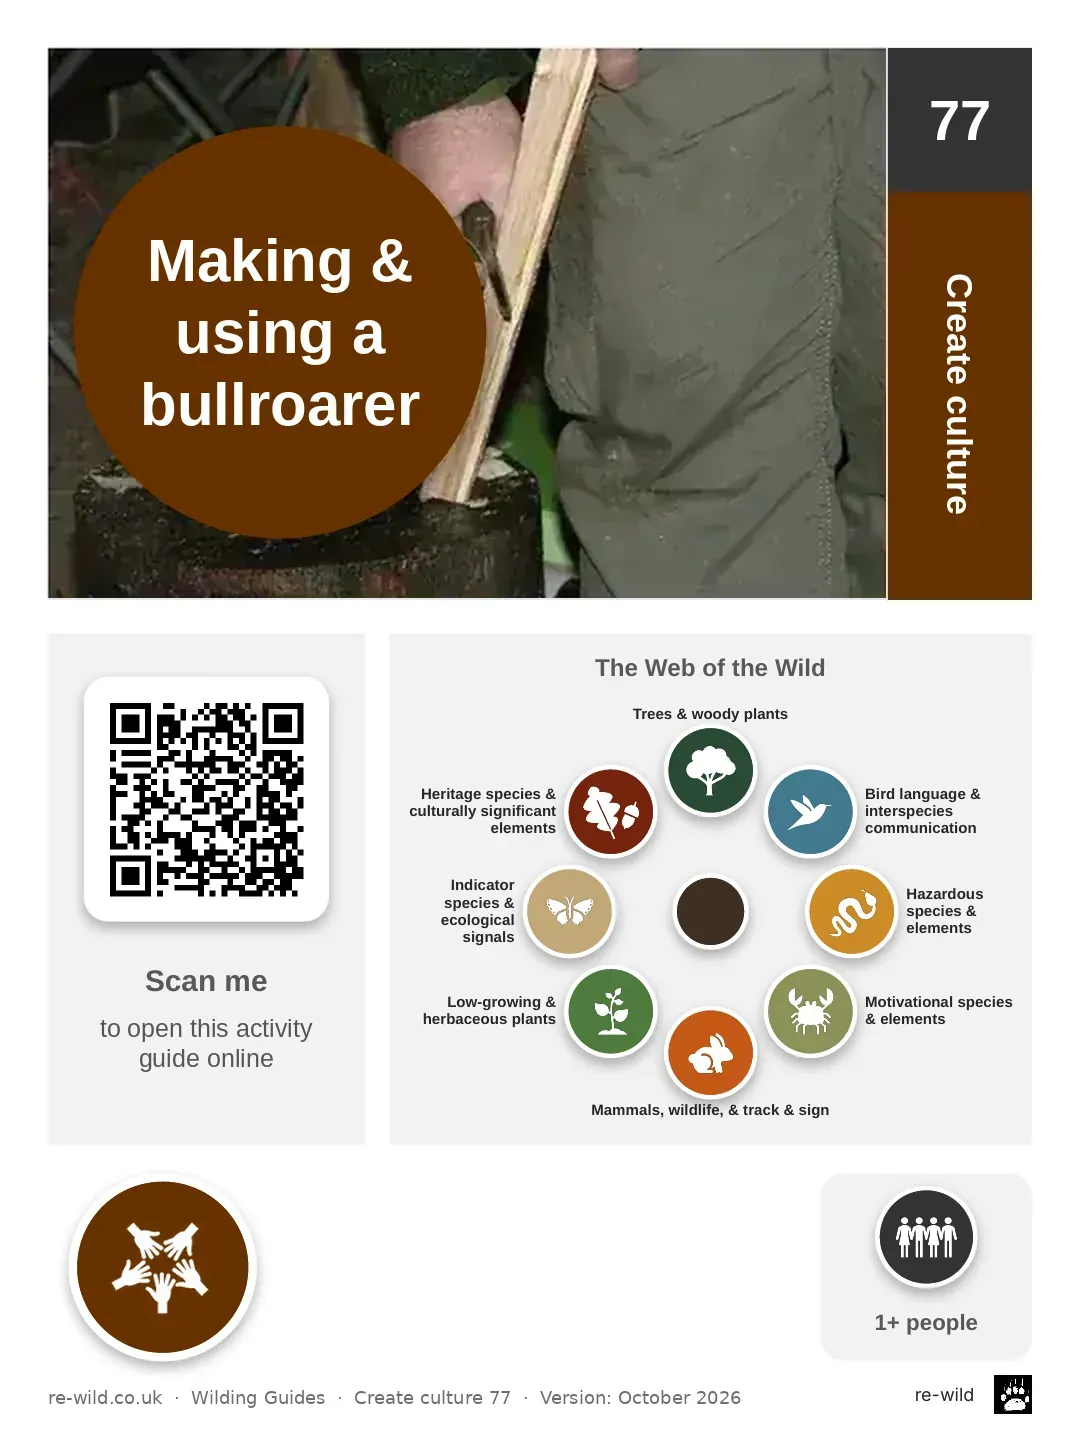
Create cultureMaking & using a bullroarer

Step by step

  1. Cleave the wood to make a board around 300 millimetres long, 50 millimetres wide and 10 millimetres deep.
  2. Mark out the shape of the bullroarer on 1 face of the board. Shape it using a series of stop cuts combined with batoning and carving strokes.
  3. Mark out the bullroarer's side profile and shape this in the same way.
  4. Mark and make a hole towards 1 end. Inspect your bullroarer, and once satisfied, sand it, starting with a coarser grit and working up to the finest.
  5. Tie cordage through the hole using a suitable knot.
  6. Finish the bullroarer with beeswax or a similar natural finish. To operate it, twist the aerofoil on the string, which will cause it to spin around its own axis during flight, then swing it in a large horizontal circle above your head.
  7. If it does not make a sound, repeat with more twist in the string.
The full Wilding activity guide (what you need, safety, variations and questions to wonder about): re-wild.co.uk/g/making-and-using-a-bullroarer/
Wild Crafts · re-wild.co.uk
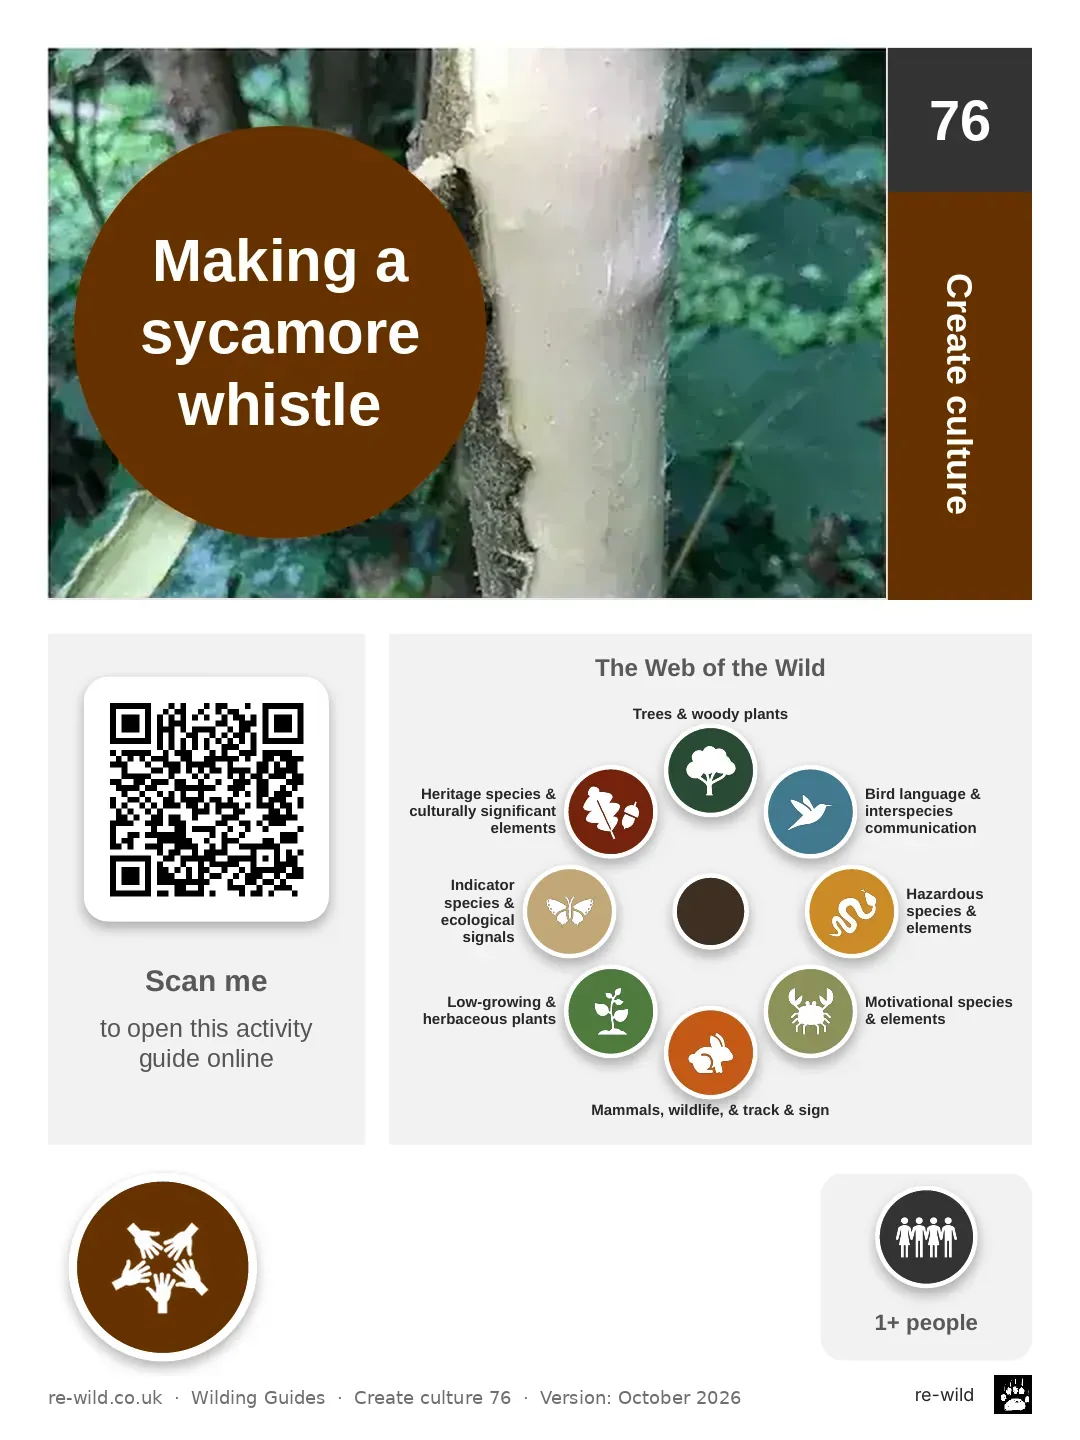
Create cultureMaking a sycamore whistle

Step by step

  1. Choose which end of your sycamore shoot will form the mouthpiece.
  2. Cut a notch about 2 fingers' distance from this end, keeping the notch cuts clean, and if you would like a mouthpiece, carve a chamfer on the opposite side to the notch.
  3. Measure around 3 fingers down from the notch and score around the diameter of the wood until you are through the bark and can feel the wood beneath it.
  4. Place the workpiece on a wood block and use a baton to gently bruise the bark, working from the scored line up to the mouthpiece. Aim to bruise it rather than split it: this breaks the internal tubes and lets sap seep through the cut faces.
  5. Once sufficiently bruised, try twisting this section of bark to separate it from the wood, listening for a popping sound, continuing to bruise further if it will not twist.
  6. Once loosened, carefully slide the bark off the workpiece using your thumbs, and set it aside. Deepen and lengthen the notch, sometimes called the resonance chamber, to suit the tone you want, planing the surfaces cleanly and scraping out the soft pith to enlarge it.
  7. Flatten the top of the whistle by about 3 millimetres, carving at 90 degrees from the upright side of the notch to the mouthpiece end. This forms the airflow channel. Check it is flat by looking for parallel tree rings. Carefully slide the bark back onto the whistle and test it by blowing into the mouthpiece, deepening the tone by increasing the size of the resonance chamber if needed.
The full Wilding activity guide (what you need, safety, variations and questions to wonder about): re-wild.co.uk/g/making-a-sycamore-whistle/
Wild Crafts · re-wild.co.uk
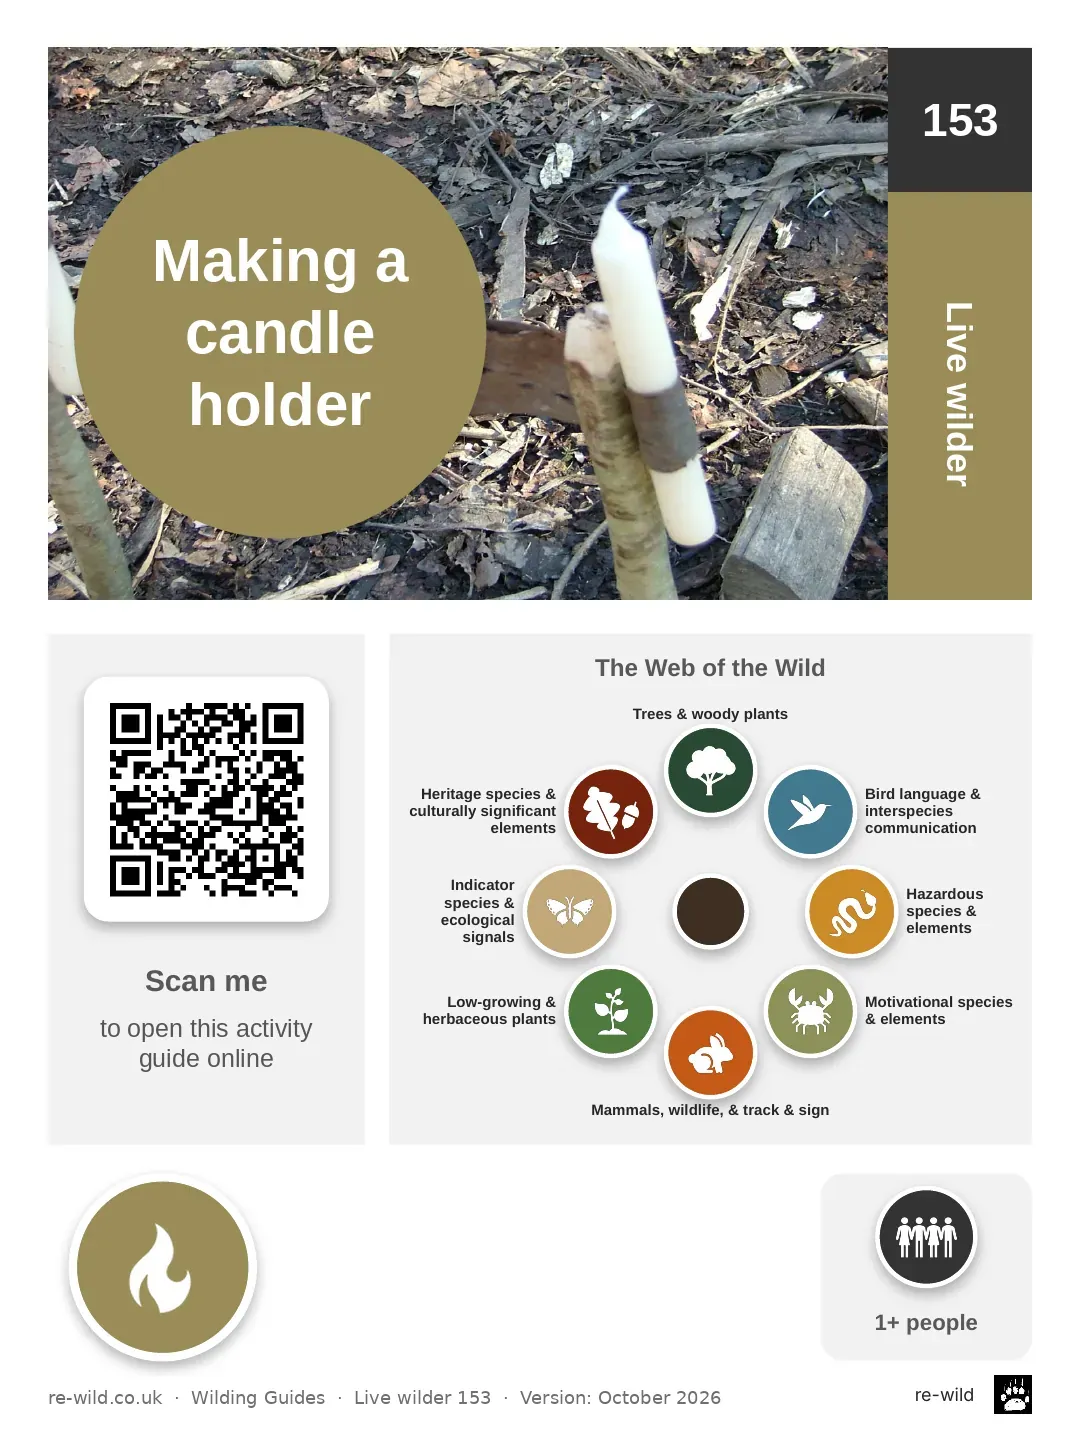
Live wilderMaking a candle holder

Step by step

  1. Cut the green wood to your required length of candle holder.
  2. Carve a tent peg style point on 1 end.
  3. Cut a strip of bark long enough to wrap around the candle twice, and wide enough to support it. Chamfer the other end of the wood, then cleave this end to form a central split long enough to accommodate the height of the bark strip. To use the candle holder, tap it into the ground, fold the bark strip in half, and insert it into the split so a loop of bark protrudes from 1 side, big enough to hold the candle.
  4. Pull on the free ends of the bark to adjust the loop until it securely holds the candle.
The full Wilding activity guide (what you need, safety, variations and questions to wonder about): re-wild.co.uk/g/making-a-candle-holder/
Wild Crafts · re-wild.co.uk
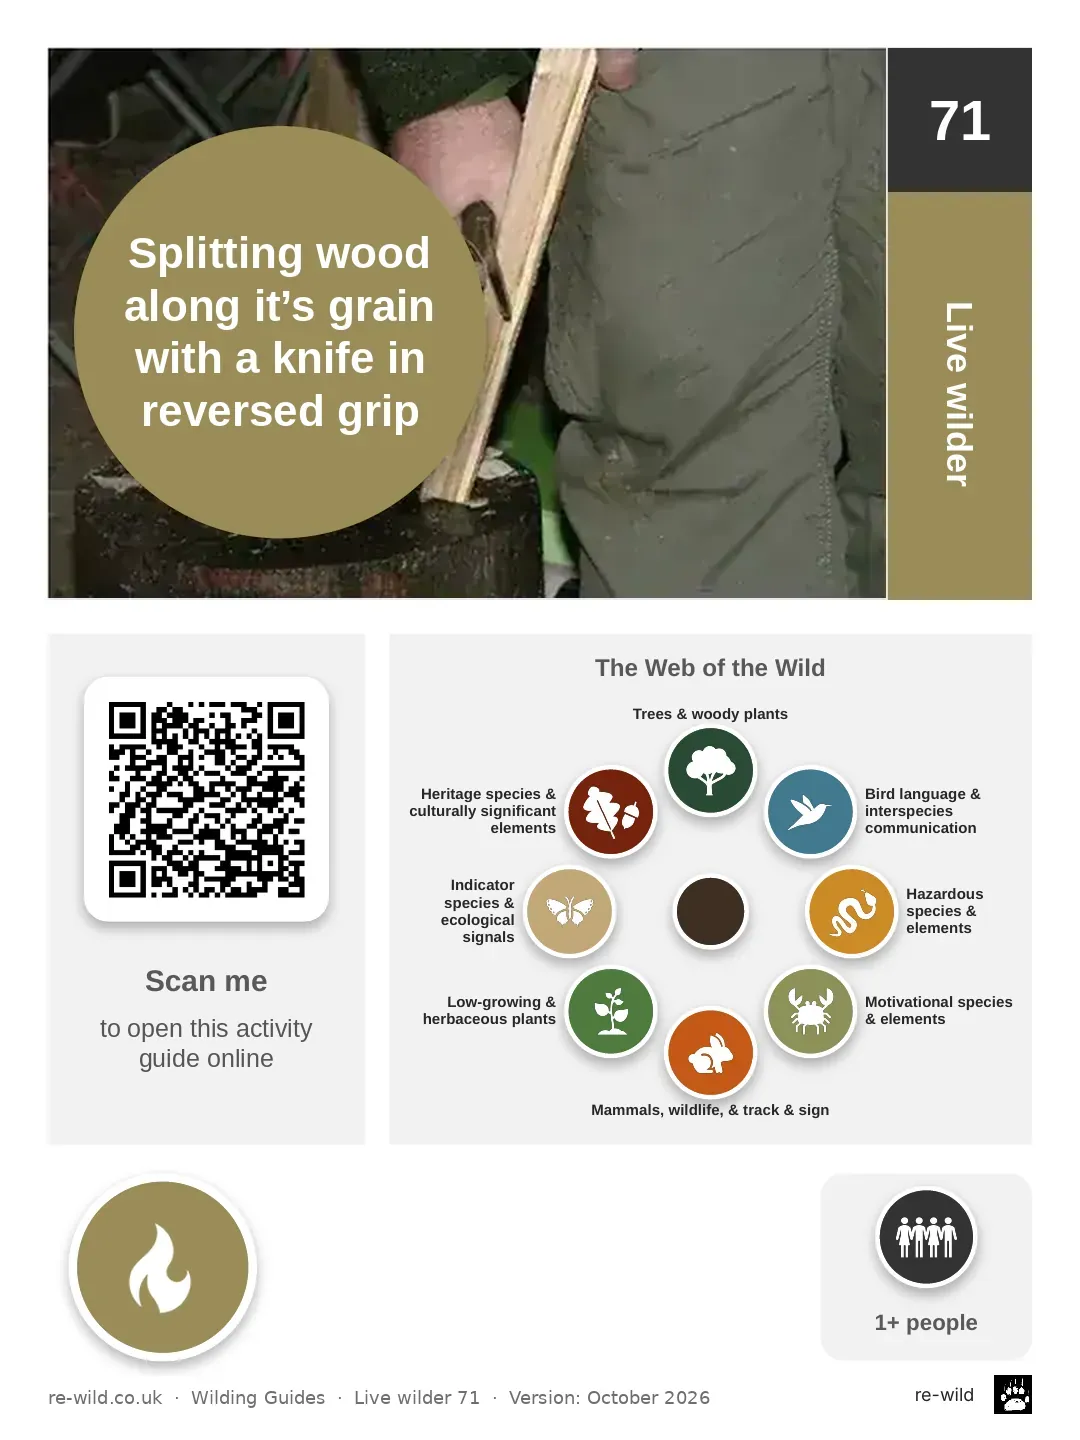
Live wilderSplitting wood along it’s grain with a knife in reversed grip

Step by step

  1. Remove the knife from its sheath, holding it in your dominant hand. Using your thumb and fingers, rotate the knife 180 degrees so the cutting edge faces towards you, settling into a reverse grip.
  2. Position your length of green wood upright on the wood block, holding it steady in your non dominant hand, well clear of where the blade will contact the wood.
  3. Place the cutting edge on the centre of the end grain and tap the spine of the blade with a baton to start the split. Keep tapping and guiding the blade down through the wood along its grain, keeping your non dominant hand well clear of the blade's path throughout.
The full Wilding activity guide (what you need, safety, variations and questions to wonder about): re-wild.co.uk/g/splitting-wood-along-its-grain-with-a-knife-in-reversed-grip/
Wild Crafts · re-wild.co.uk